Assembly Guide

Read through the manual before you start and make sure you have the correct parts and tools.

If anything is unclear, contact us at hi@vassla.com before you continue.

If you assemble it yourself, you are responsible for ensuring the work is done safely and correctly. Always check that all parts are securely in place before using the product.

Tools

Tools

  • Hex key size 6
  • Socket wrench or box wrench size 10
  • Phillips screwdriver
1

Unpack your epa-1.1

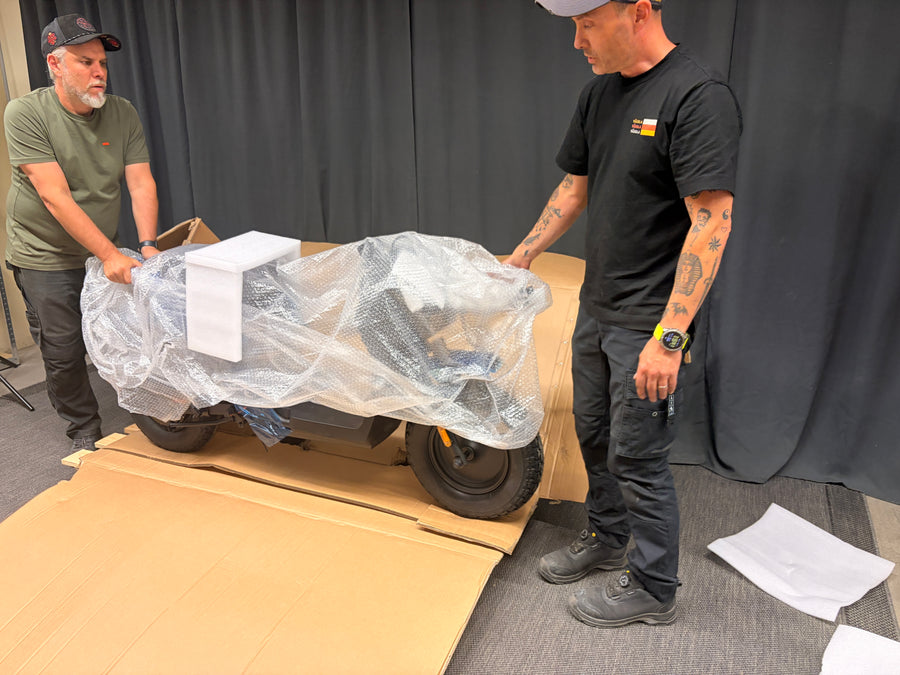
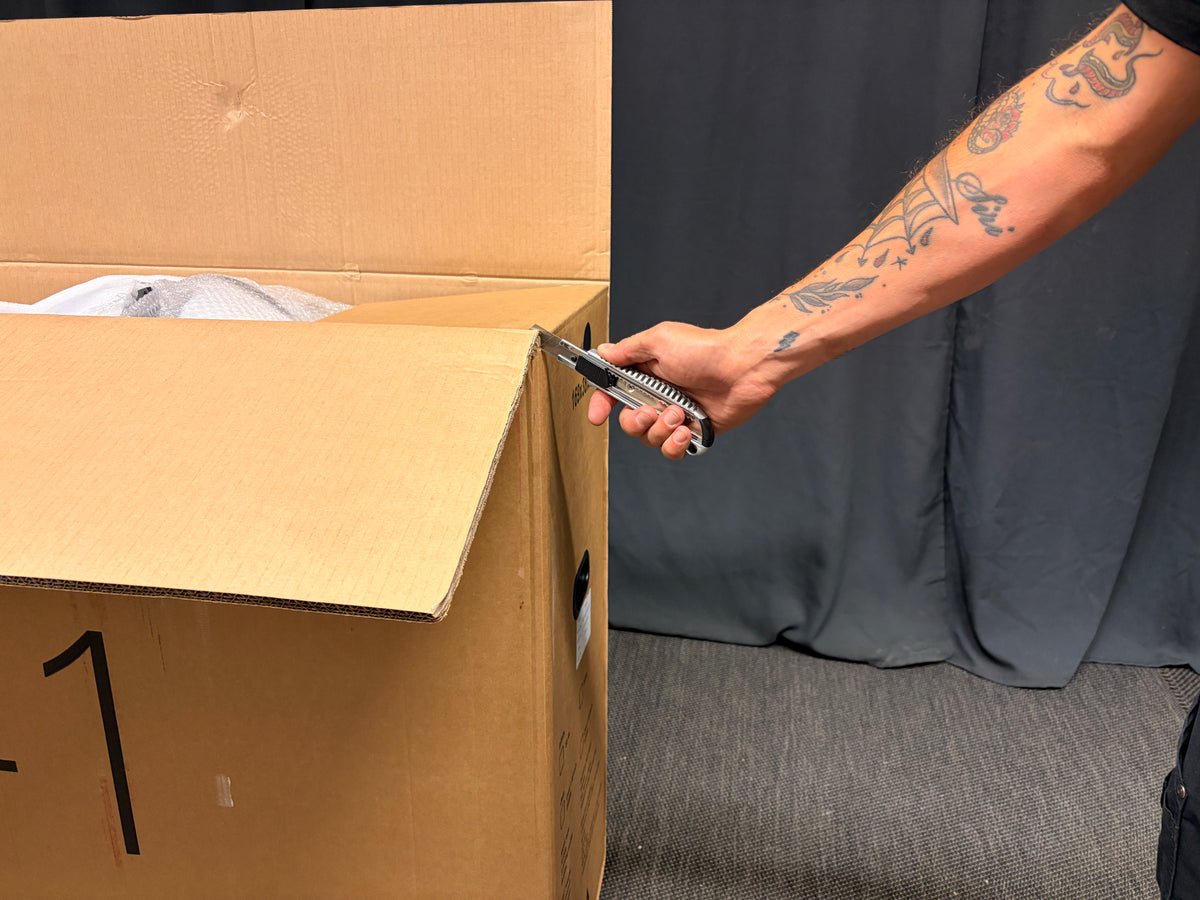
Place your epa-1.1 on a stable surface where you have enough space to carry it off the pallet. It’s a good idea to have someone help you, as it will be unstable once the straps are cut and the box is opened.

  1. Cut the straps
  2. Cut open one long side of the box while someone holds the moped
  3. When the long side is removed, carefully lift it down and place it on the center stand
Unpack your epa-1.1
Unpack your epa-1.1
2

Install the handlebar

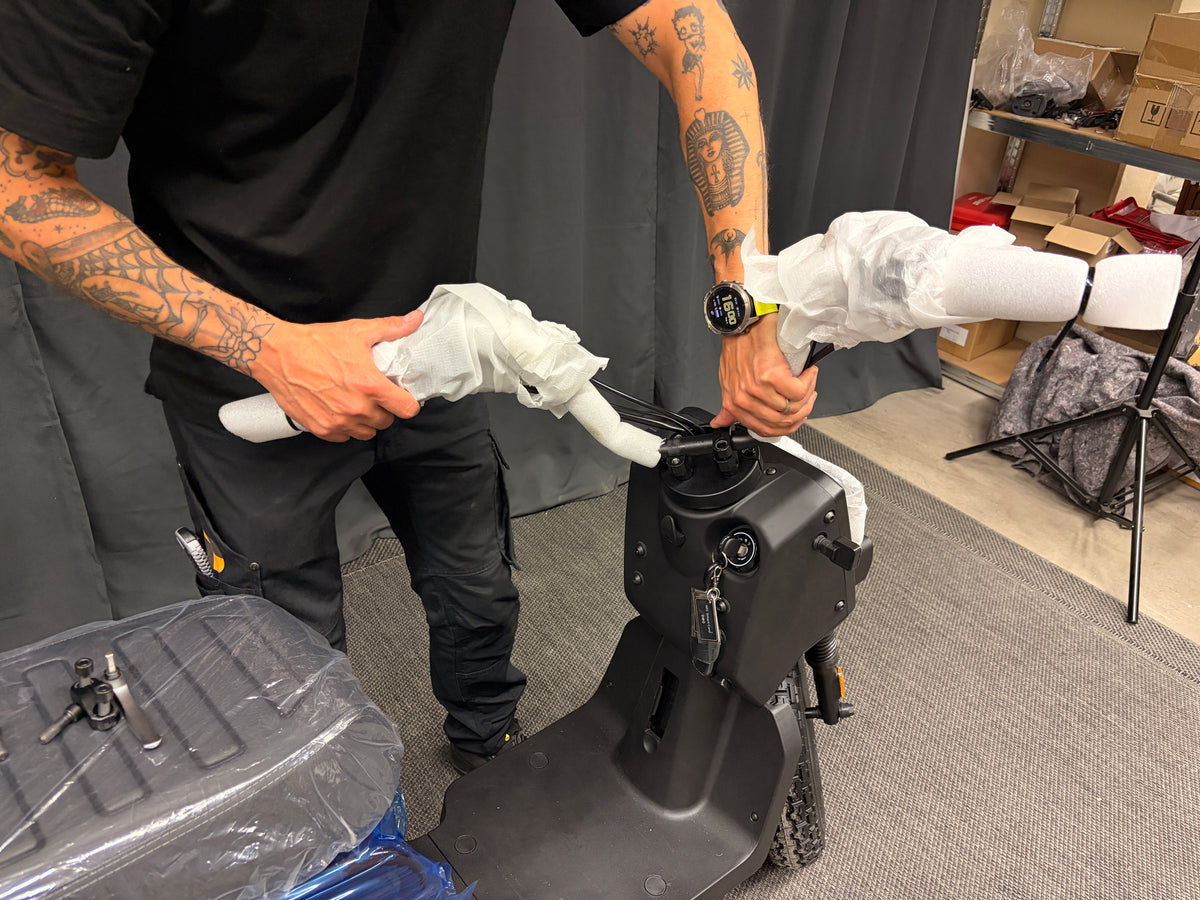
The handlebar is delivered with controls and grips already installed. You only need to attach the handlebar to the handlebar mount.

Use a size 6 Allen key. The handlebar clamps and display mount are in the included fabric bag.

  1. Fold up the handlebar and place it in the handlebar mount.
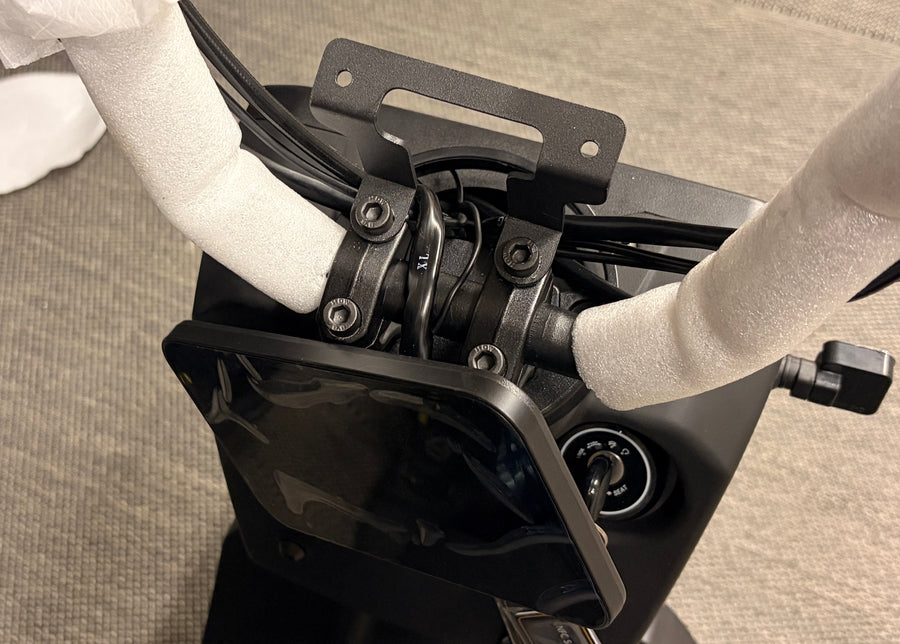
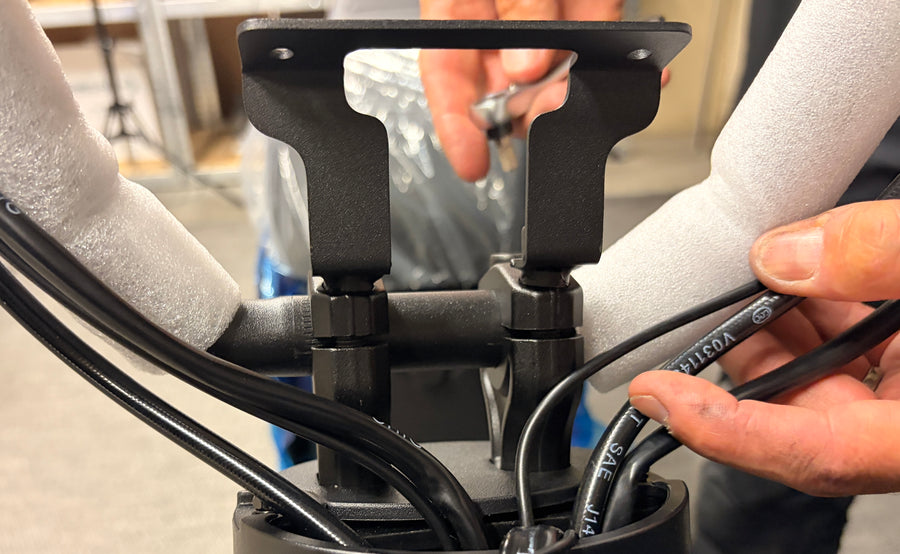
  2. Place the handlebar clamps on and loosely screw in the two rear bolts. Do not tighten them yet; they should only hold the clamps in place.
  3. Place the display behind the handlebar. Make sure the display cables run inside the display mount.
  4. Attach the display mount with the two front bolts.
  5. Adjust the handlebar so it sits straight, then tighten all bolts securely. The handlebar should be firmly fixed and not wobble. Tighten firmly, but not so much that screws or mounts risk damage.


Always double-check that the handlebar is securely fastened before riding.

Install the handlebar
3

Install the display

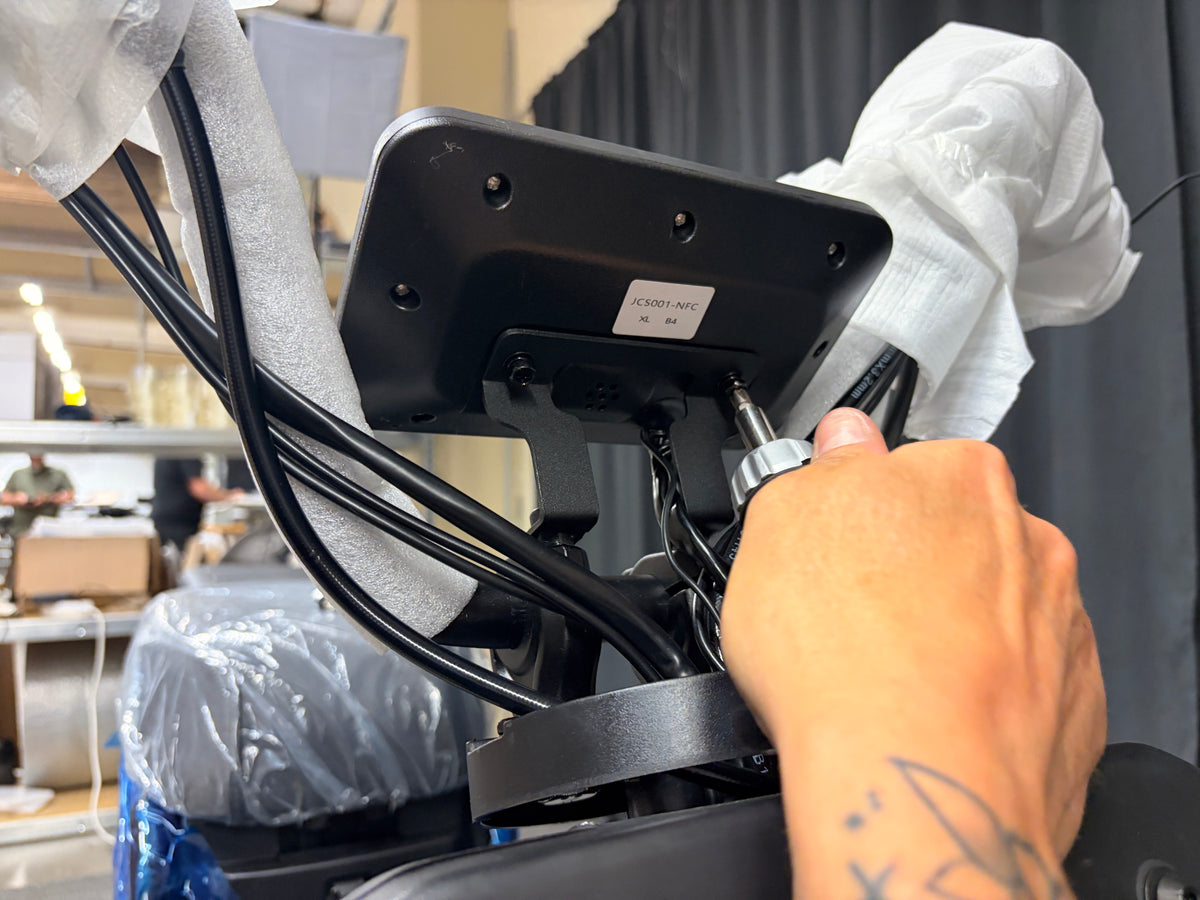
On the back of the display, there are two screws. Unscrew them and place the display in the display mount.

Make sure the cables run inside the mount. If the cables are in the way, they are probably on the outside and need to be moved inside.

Then screw the display to the mount with the two screws.

Install the display
4

Adjust the front fender

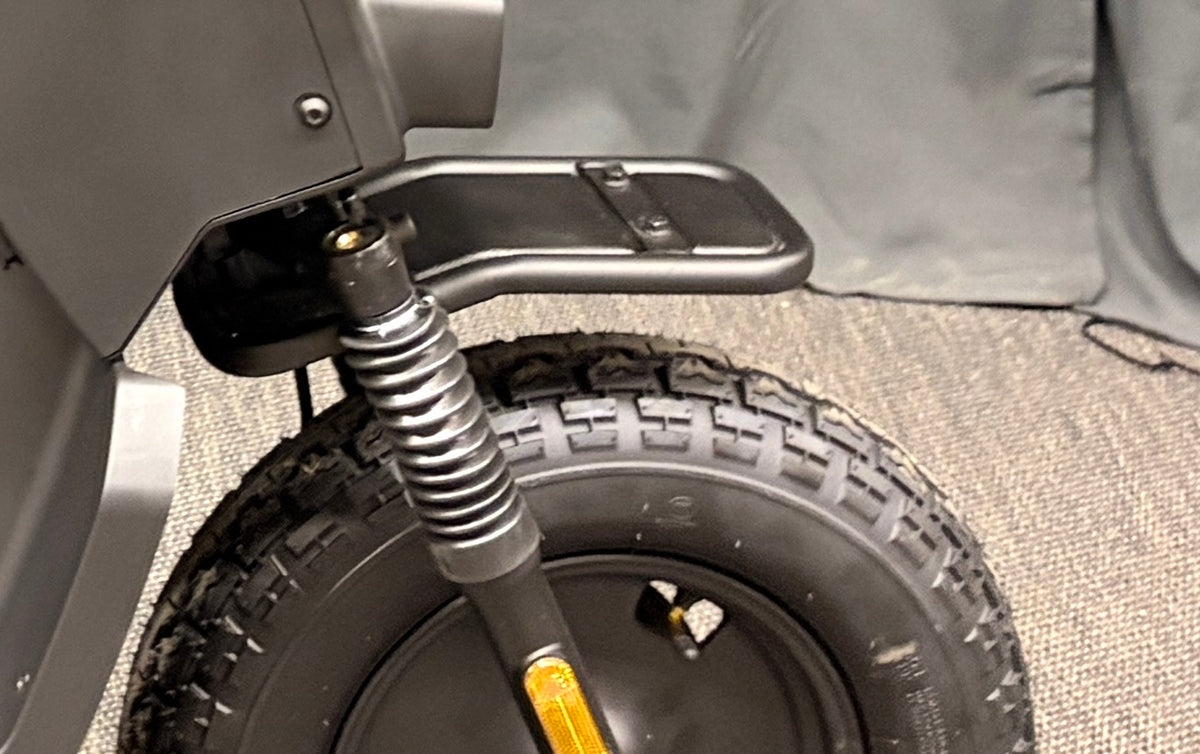
The front fender may need to be adjusted slightly to sit perfectly straight over the tire.

Loosen the three bolts located under the front fender, closest to the front fork. Just unscrew them a few turns so they still hold, but allow the front fender to be adjusted.

Align the front fender so that it sits straight over the tire. Hold the fender in place and then tighten the bolts again.

Adjust the front fender
5

Pump the tires

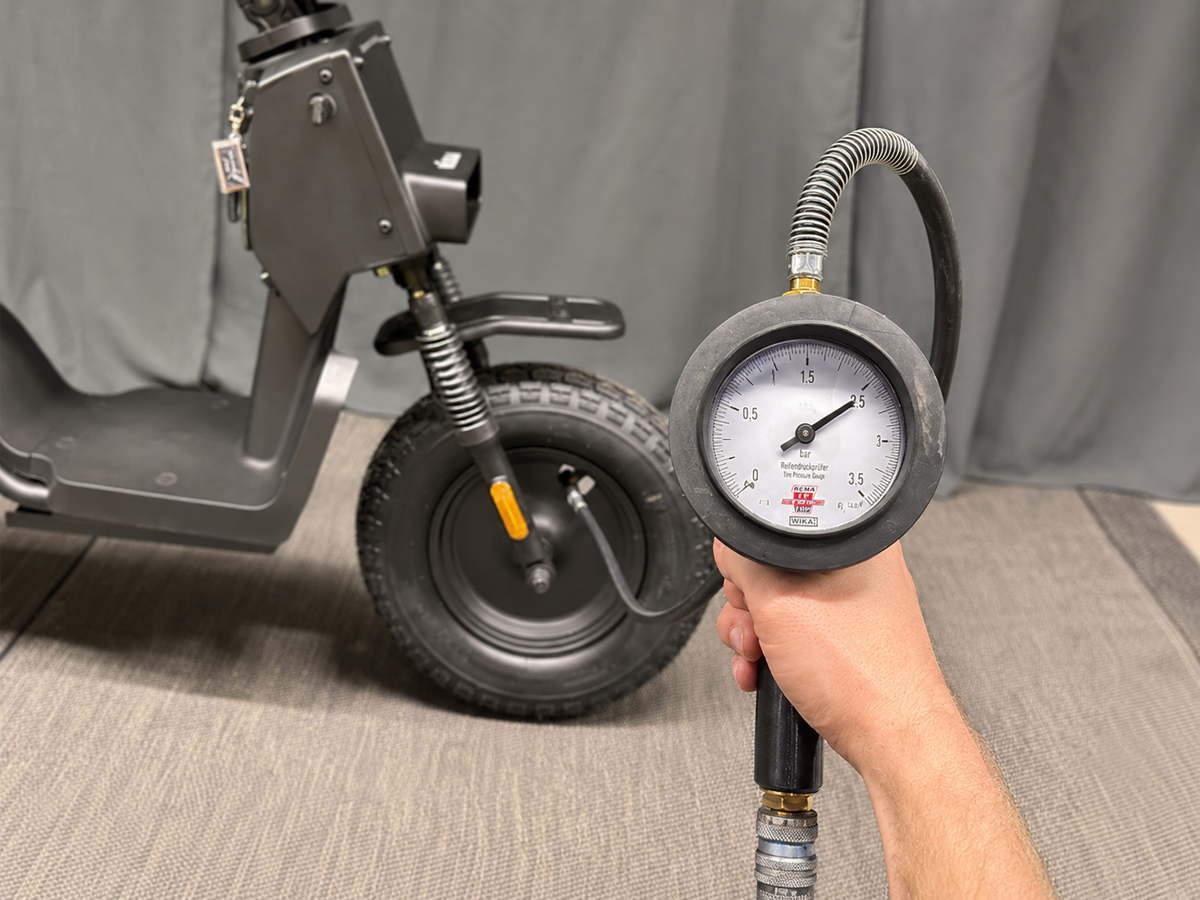
Check the tire pressure before the first ride.

The tires should be inflated to 2.5 bar.

Correct tire pressure provides better comfort, stability, and range.

Pump the tires
6

Roof mirrors

Screw the rearview mirrors in place and adjust them so you have a clear view behind you when sitting on the moped.

You secure the rearview mirror by first screwing it on almost as far as it will go, then use the nut to tighten it so it sits firmly.

Roof mirrors
7

Connect the battery

Use the key and turn it counterclockwise to open the saddle.

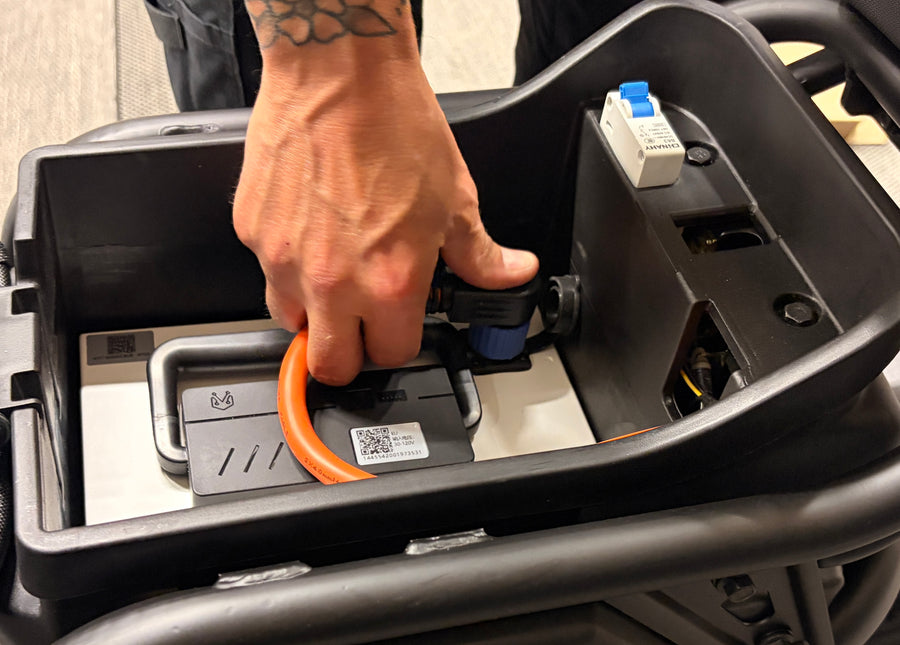
Under the saddle, you will find the battery connection and the fuse.

Insert the battery cable properly.

Then turn on the fuse.

Check that the cable is correctly seated and that nothing is pinched before closing the saddle again.

Connect the battery
Connect the battery
Connect the battery
8

Final check

Before test riding the moped, check that:

  • The handlebars are securely fastened
  • The display is stable
  • The rearview mirrors are mounted and adjusted
  • Turn signals, horn, and lights are working
  • The tires are inflated to 2.5 bar
  • The battery cable is connected
  • The fuse is on


Once everything is checked, your Vässla EPA-1.1 is ready for a first cautious test ride.

If you are unsure and need help, contact us at hi@vassla.com.

Final check

Mount AVS bracket

With the AVS mount, you can use all click-on accessories for epa-1.1. You can install it on the front and rear racks.

Tools

Tools

  • Hex key size 4
  • Socket wrench or box wrench size 8
1

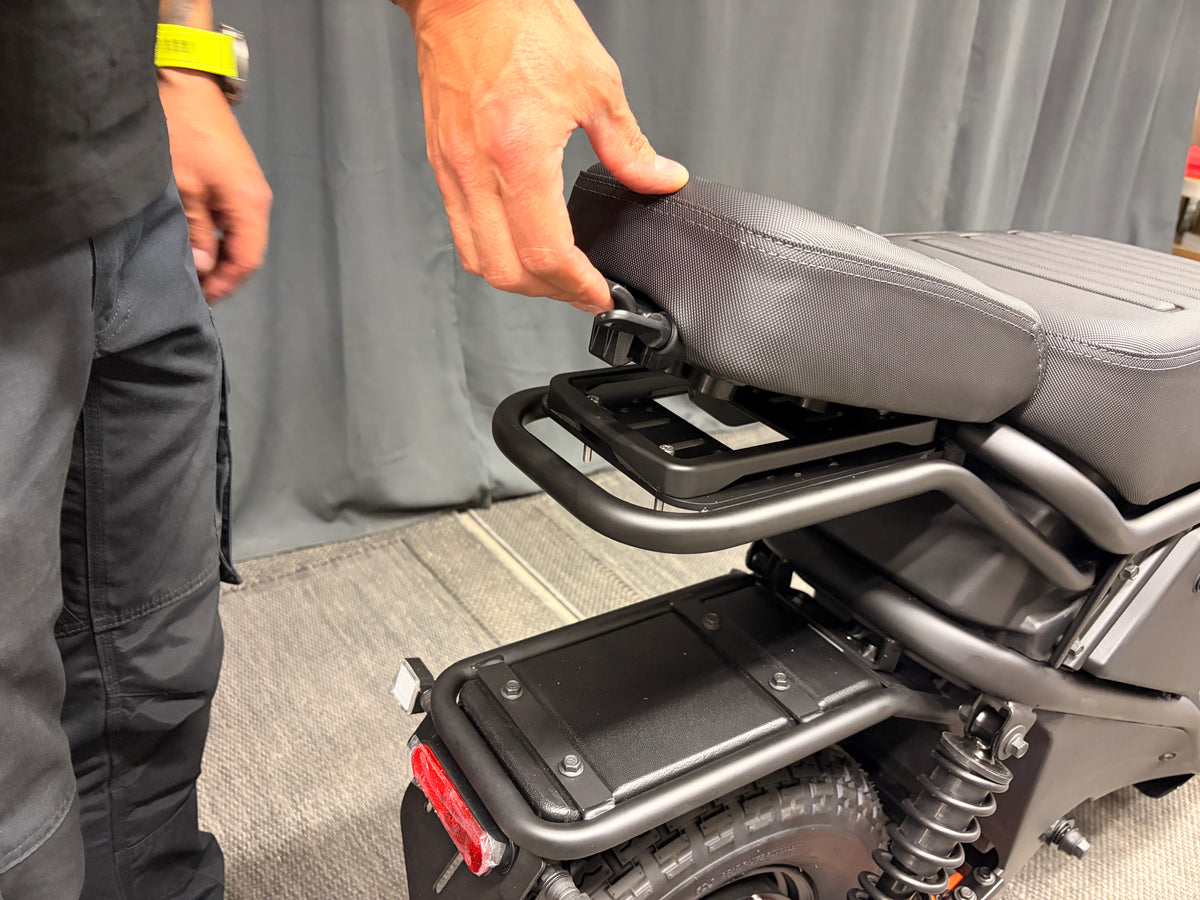
Remove the passenger seat

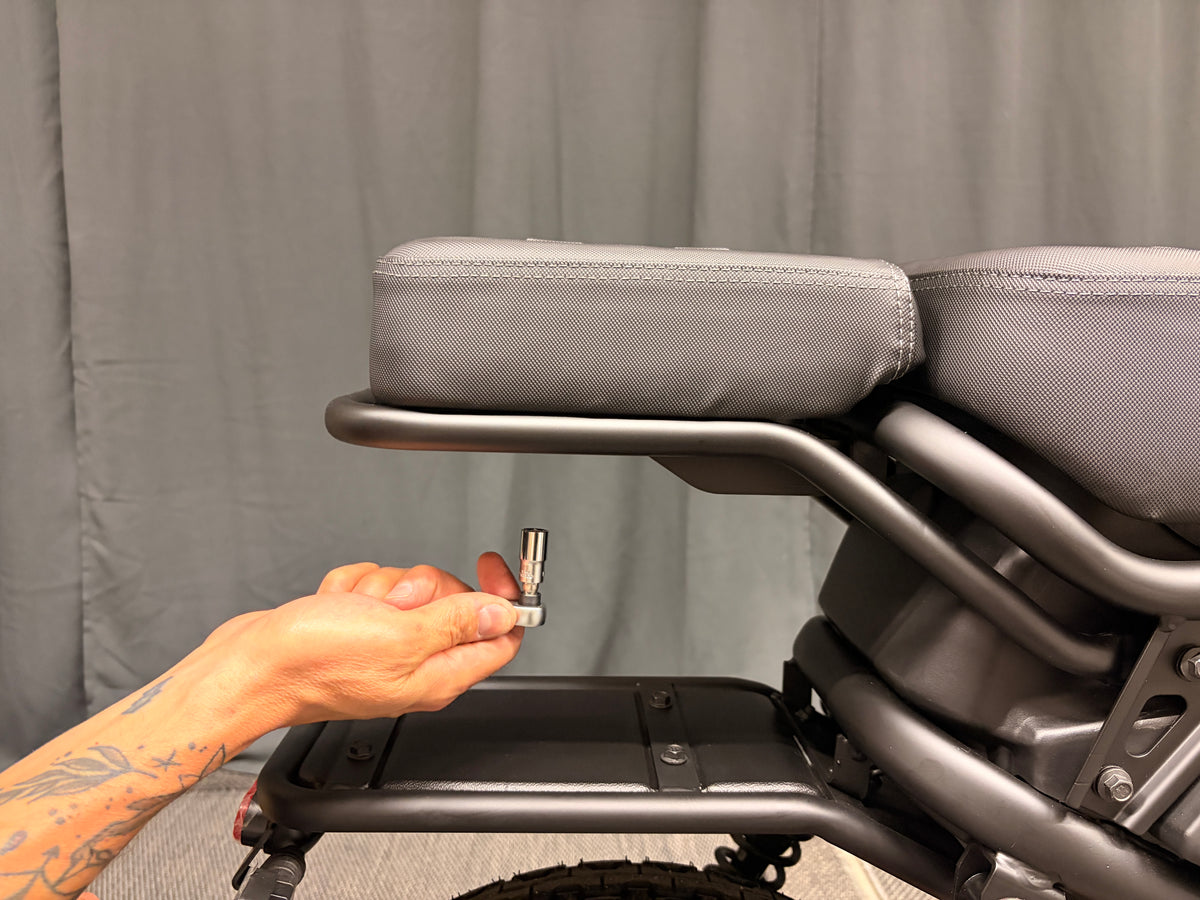
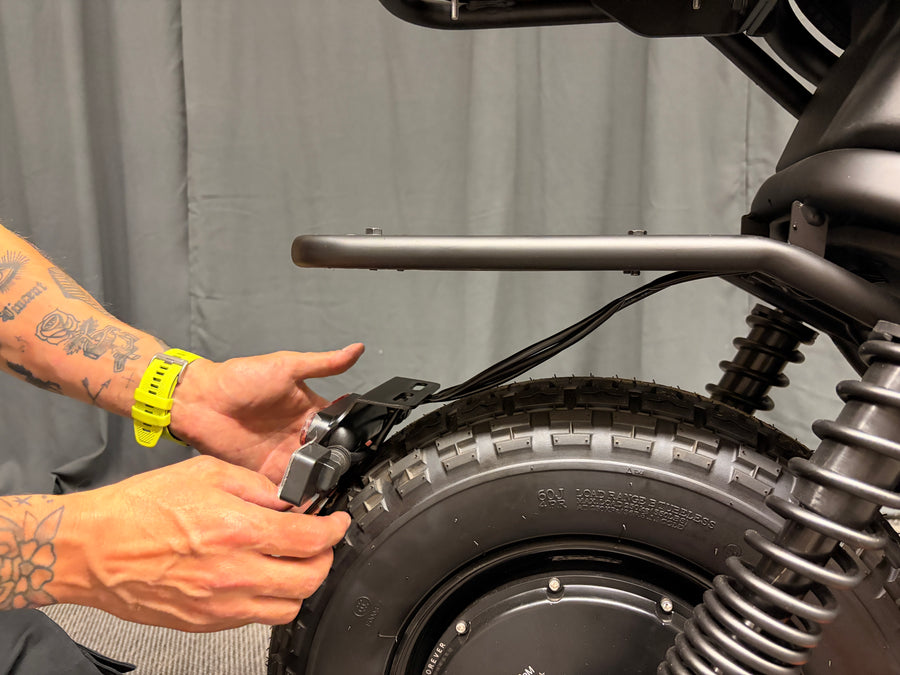
The passenger seat is secured with four bolts under the luggage rack.

Unscrew the bolts and then lift off the saddle.

Remove the passenger seat
2

Mount AVS bracket

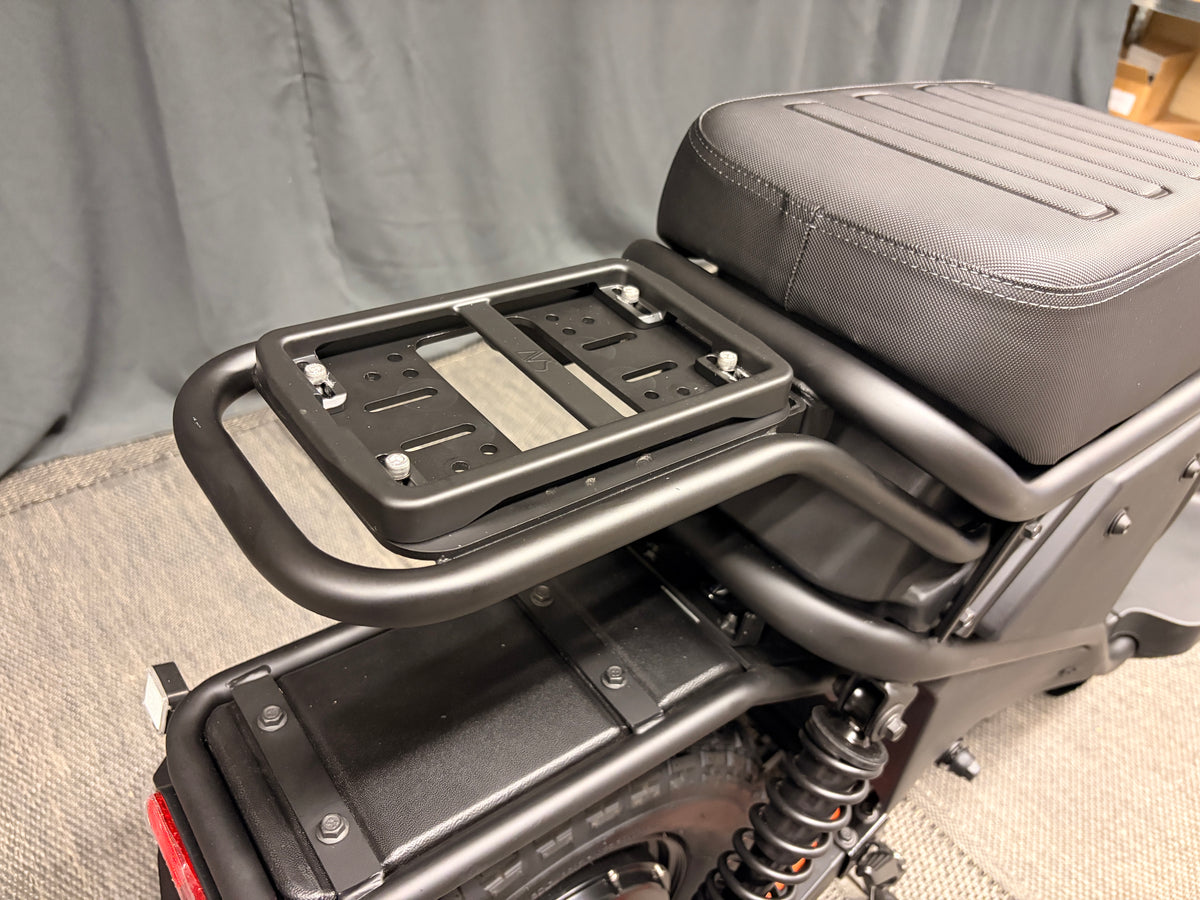
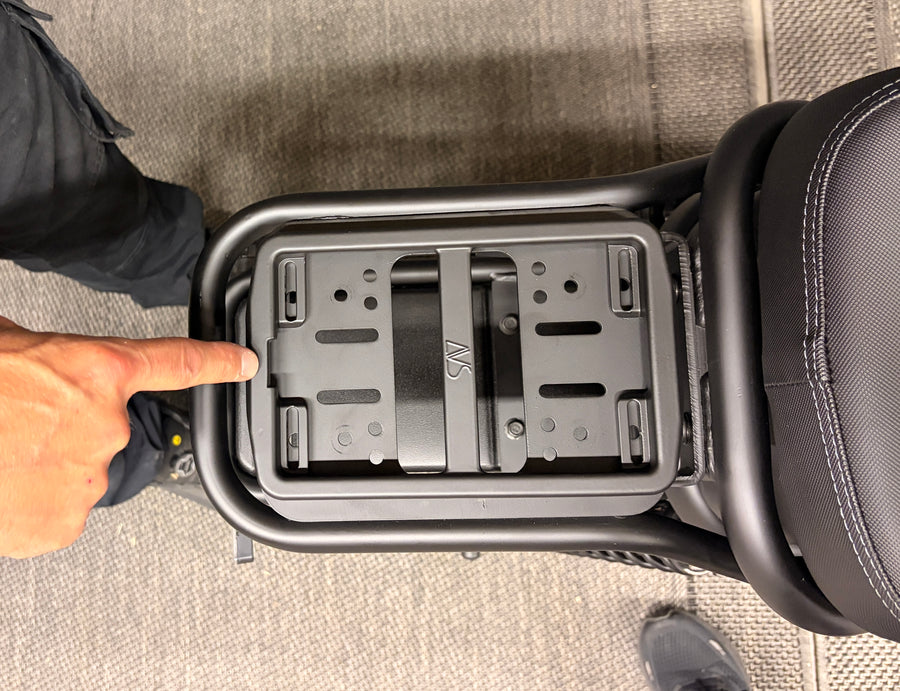
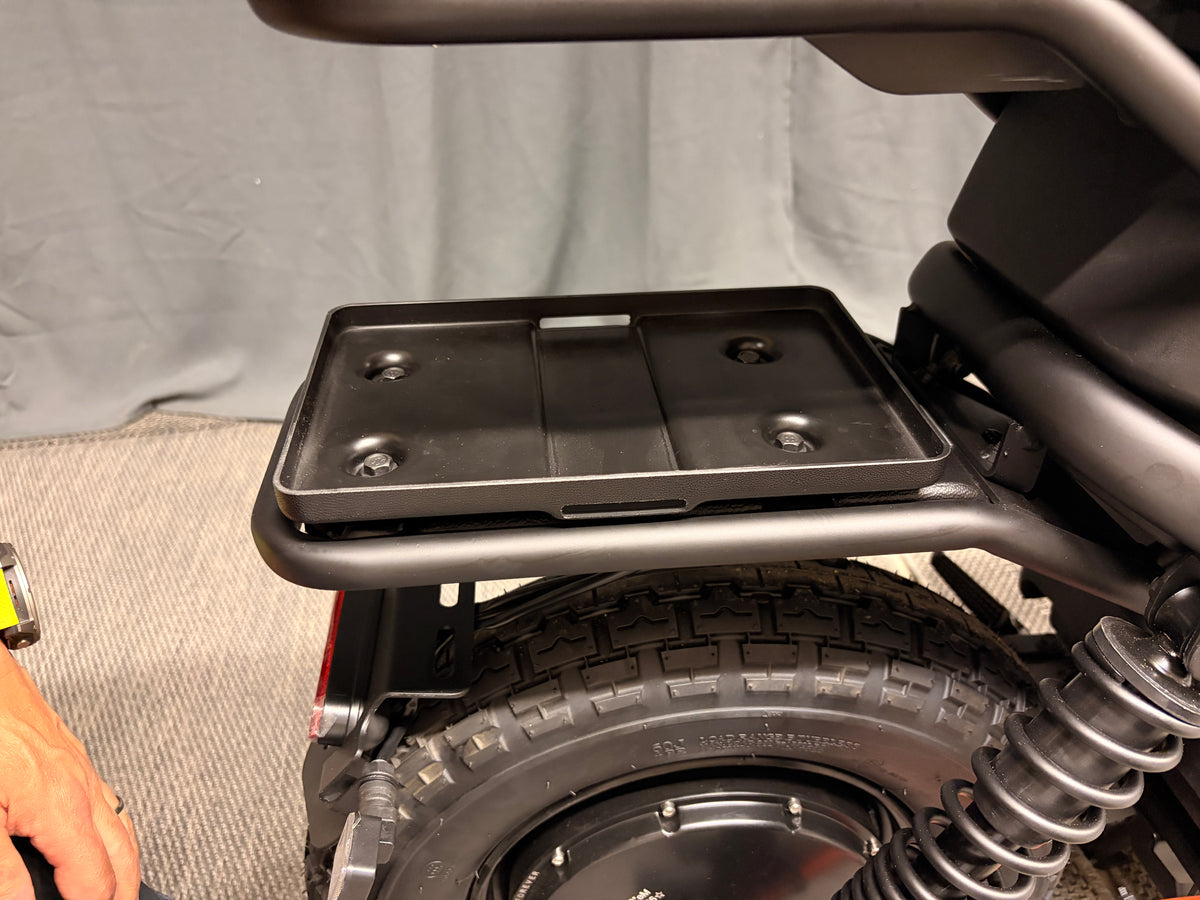
The AVS mount is attached directly to the luggage rack.

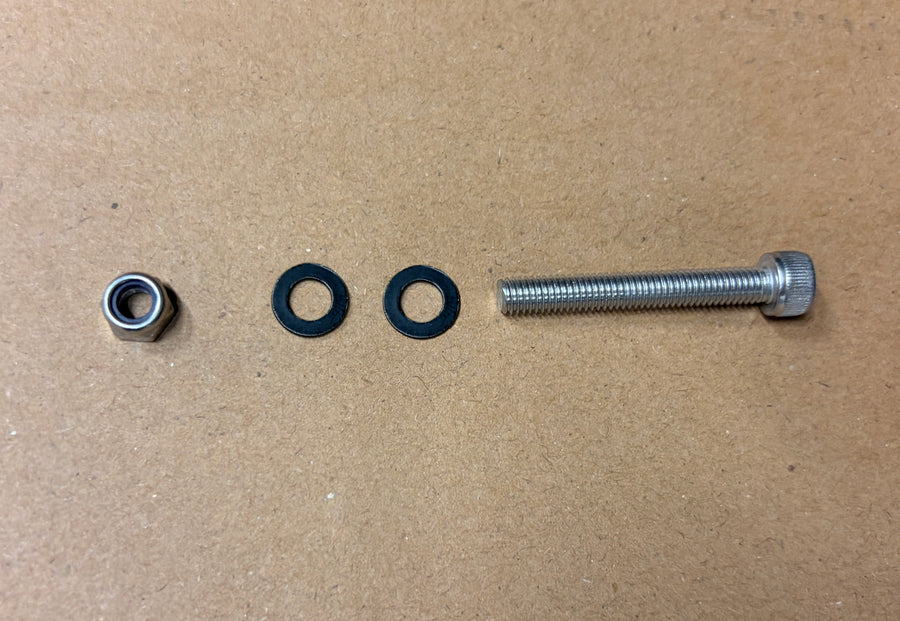
Use the four longer screws with lock nuts and washers included in the package. Place one washer on top of the AVS mount and one washer under the luggage rack at each screw.

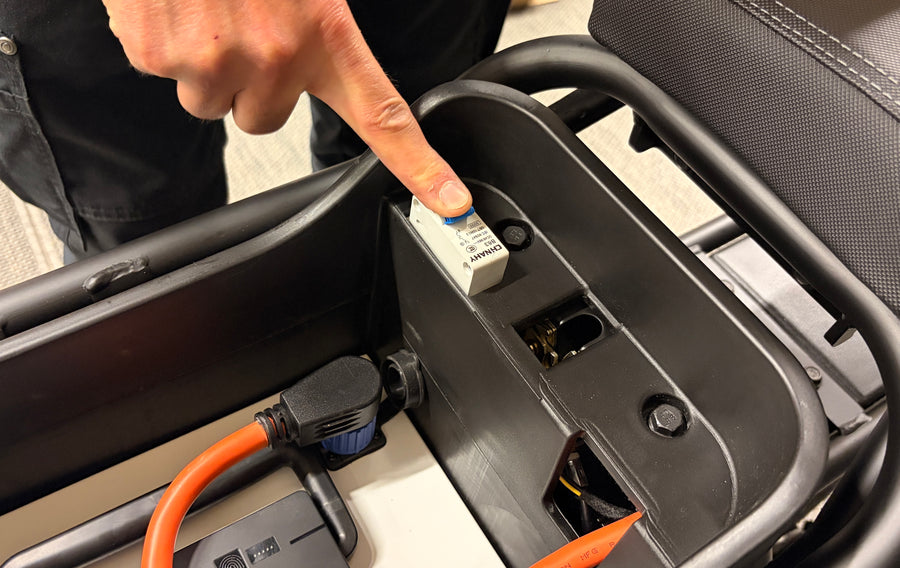
Keep in mind that the side of the AVS mount where the edge goes inward (where the finger points in the picture) should be mounted facing away from the moped.

The other screws and nuts in the package should not be used.

Mount AVS bracket
Mount AVS bracket
Mount AVS bracket
3

Connect accessories

When the AVS mount is installed, you can easily click on accessories such as passenger seats, Bakery Tray, bags, and baskets.

Insert the front part of the accessory into the AVS mount and then press it down until it clicks into place.

Some accessories have a small plastic key that can be used to lock the accessory in place, making it harder to remove.

Connect accessories

Montera Storage Box

Our storage box is mounted on the rear splash guard.

Tools

Tools

2 pcs Socket wrench or box wrench size 10

1

Loosen the bolts

Start by loosening the bolts attached to the fender. These are through bolts with nuts. Use a size 10 wrench or socket.

The bolts also hold the bracket for the license plate holder and the rear lights, so hold the parts when loosening them to prevent anything from falling.

Under the fender, there are also cable holders attached with the same bolts. Be careful not to damage the cables when removing the bolts.

Loosen the bolts
Loosen the bolts
2

Attach the base plate to the storage box

The base plate is mounted using the same bolts you just removed.

  1. Place the base plate directly against the mudguard. Make sure the short part of the base plate points backward from the moped.
  2. Insert the bolts and then lift the holder for the license plate and taillights. Position the holder the same way it was before.
  3. Put the cable holders back under the mudguard and tighten the nuts one at a time.
  4. Check that the cables are centered in the cable holders before tightening. The cables should be held in place but not pinched.
  5. Finally, tighten all the nuts securely.
Attach the base plate to the storage box
3

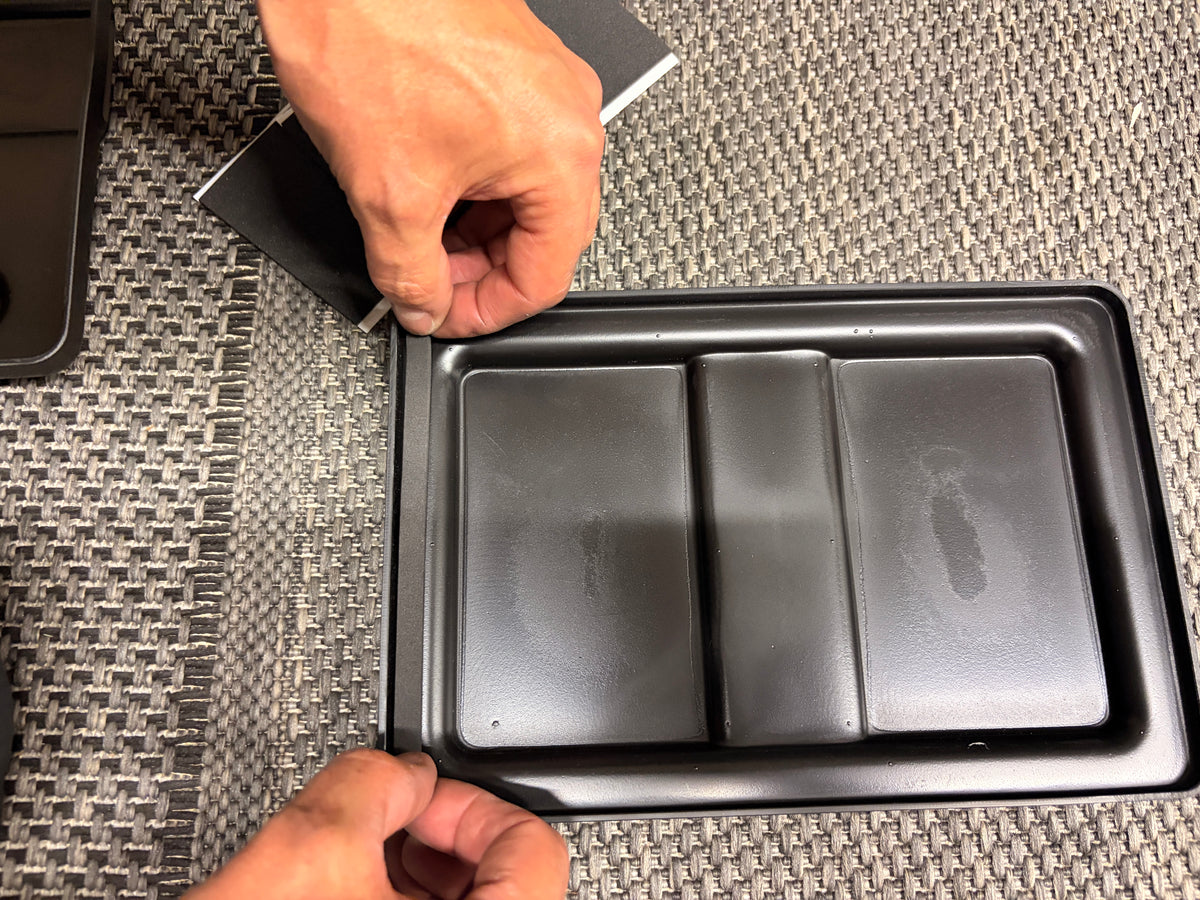
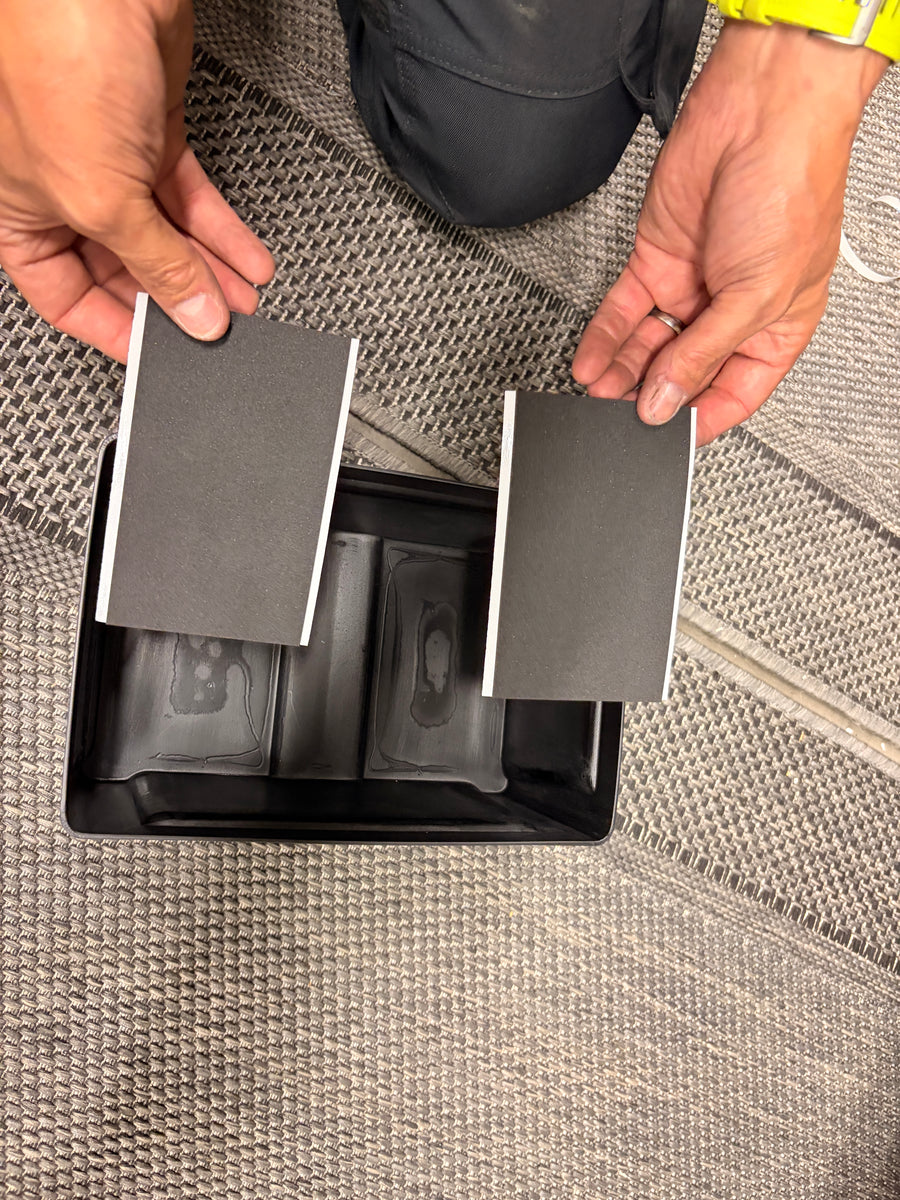
Attach the damping strips

The storage box comes with cushioning strips. They reduce noise and make the box and lid fit more securely.

Attach the thin strips to the inside of the lid.

Attach the two larger strips to the bottom of the box.

Attach the damping strips
4

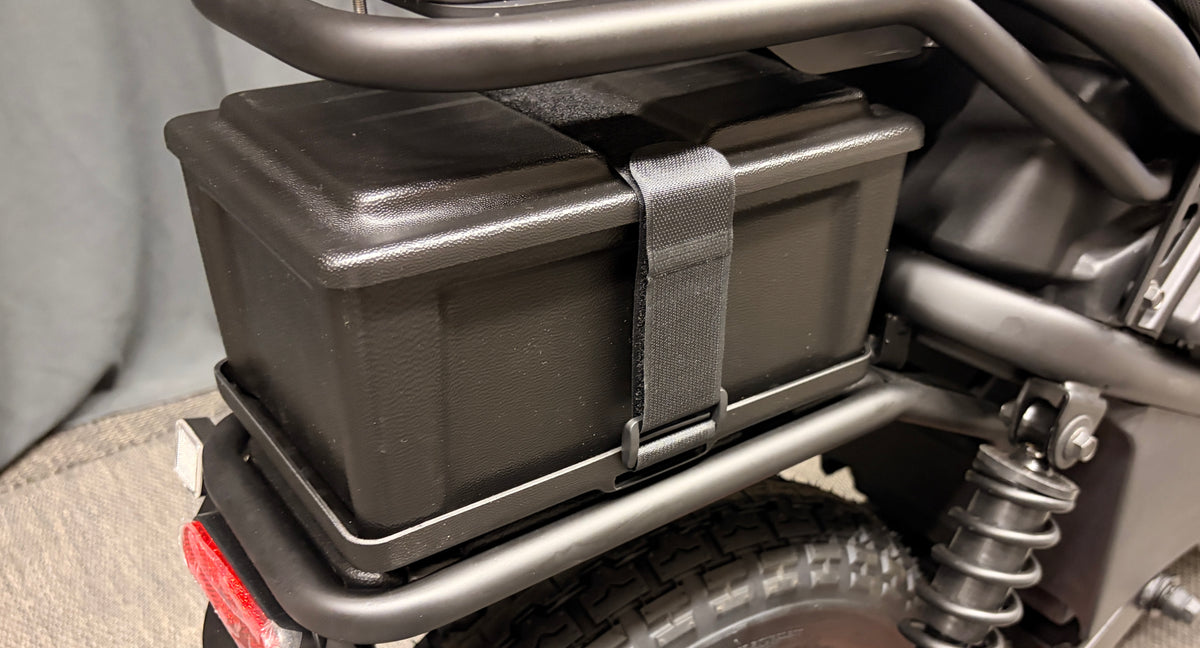
Turn on the box

Place the storage box on the base plate.

Use the Velcro strap to keep the box in place. Thread the strap through the two elongated holes in the base plate and tighten it over the box.

Turn on the box

Front carrier rack

The front rack is easy to install and can carry loads. It is also possible to mount an AVS bracket to attach accessories.

Tool rack

Tool rack

  • Hex key size 5


Tool AVS mount

  • Hex key size 4
  • Socket wrench or box wrench size 8
1

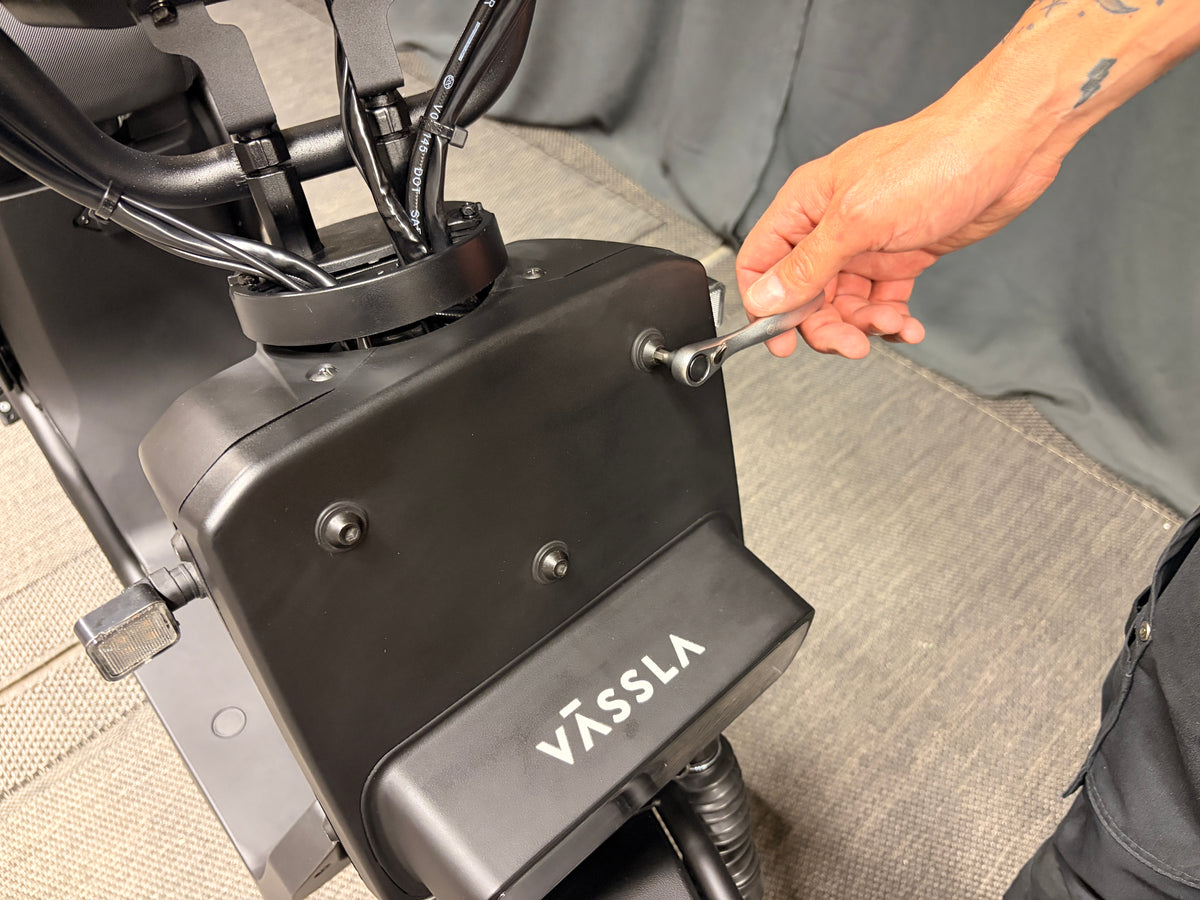
Roof

Start by unscrewing the three hex screws at the front of the moped.

Place the luggage rack against the front and attach it with the same screws.

Tighten the screws and check that the luggage rack is securely attached.

Roof
Roof
2

Install AVS mount

The AVS mount is attached directly to the luggage rack. Use the four longer screws with lock nuts and washers included in the package. Place a washer on top of the AVS mount and one washer under the luggage rack at each screw.

Keep in mind that the side of the AVS mount where the edge goes inward should be mounted facing away from the moped.

The other screws and nuts in the package should not be used.

Install AVS mount

Good to know

Here you will find some simple tips that are good to know before you start using your epa-1.1.

1

Turn sound off/on

Turn off the display sound

The moped should be turned off and the key should be in the ignition.

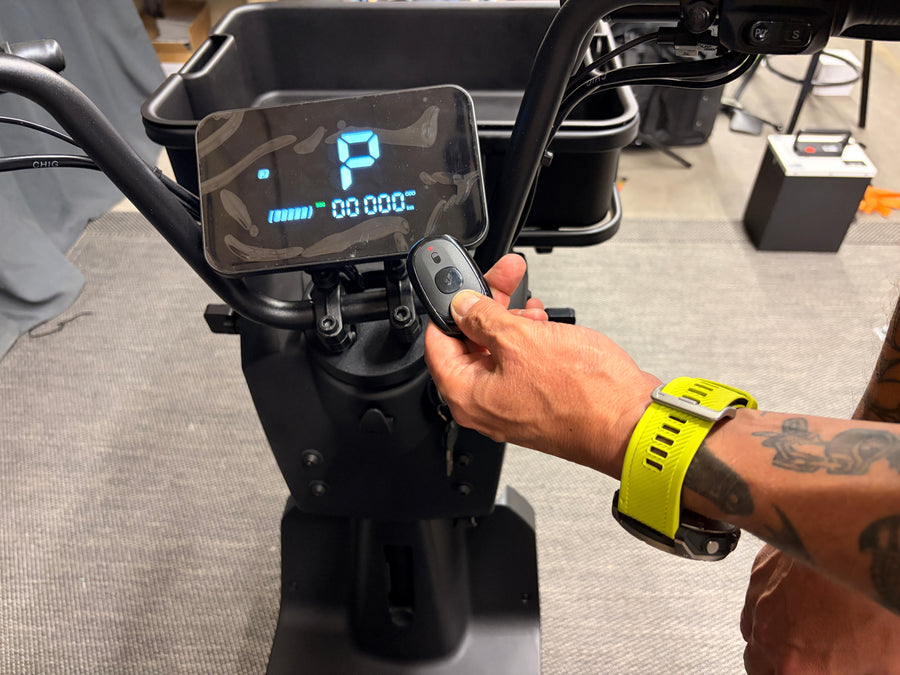
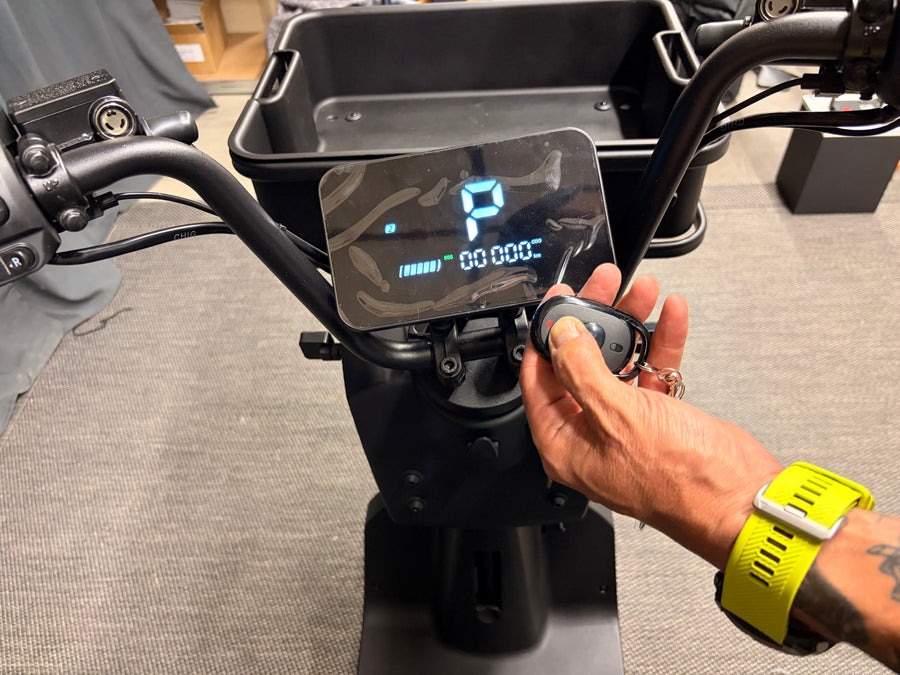
Press the upper button on the remote control once, the one with the unlocked lock symbol.

Then hold down the lower button, the one with the lock symbol, while starting the moped with the key.

Hold the button pressed for about 10 seconds until you hear a short sound. The display sound is now turned off.

The moped will still make a short sound when you turn it off.

Turn the display sound back on

Do the same, but instead hold down the upper button with the unlocked lock symbol when you start the moped.

Hold the button pressed for about 10 seconds until you hear a short sound confirming that the display sound is on again.

Turn sound off/on
Turn sound off/on
Turn sound off/on
2

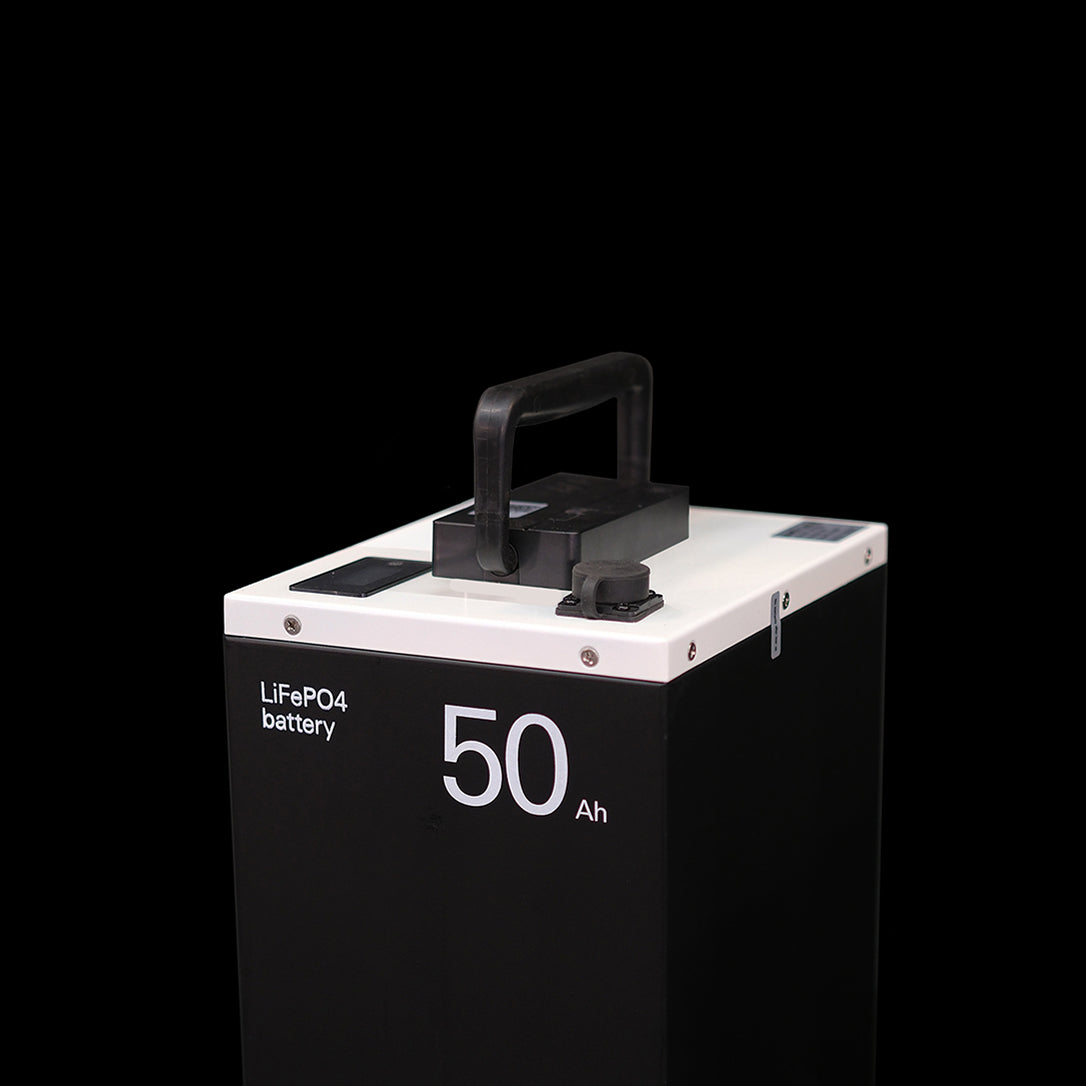
Charge and take care of the battery

Always use the included charger and charge the battery in a dry area.

Never charge outdoors in rain or wet environments. The battery and charger must be dry before charging.

Try to charge the battery before it drops below 10%. It is best not to fully discharge it.

Do not charge or store the battery in freezing temperatures. If the battery is cold, let it reach room temperature before charging.

If you do not use the moped for an extended period, the battery should be maintenance charged about once a month.

Preferably store the battery in a dry, cool, and frost-free place. Occasionally check that the contacts and charger appear intact and clean.

Do not use the battery or charger if anything looks damaged, smells strange, or becomes abnormally hot.

Charge and take care of the battery